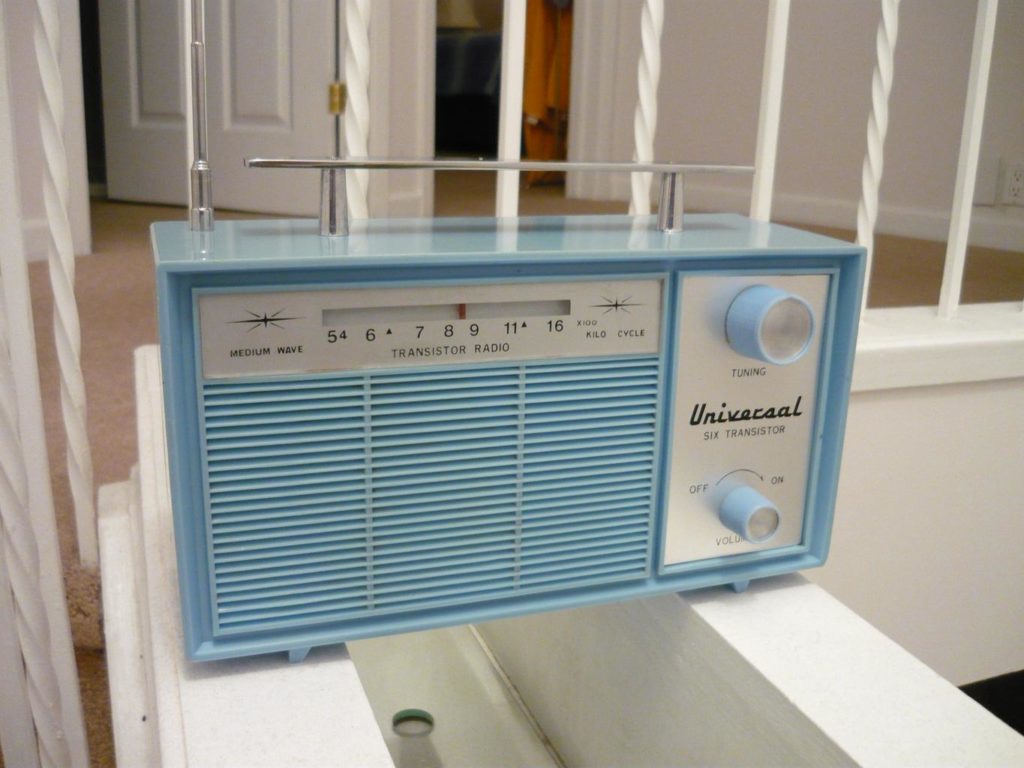
 In a typical worksite, the sound of FM or AM radio is the only one that can give you company. But the best jobsite radios do more than that. But, an auto shop or a wood shop is a harsh place where ordinary radio won’t serve best.
Regarding power, signal strength and speaker output, a jobsite radio is the best for the rough working site. However, the way you use an appliance matters a lot, and it also determines whether or not you’ll keep working it for a long time. And the case isn’t different for a jobsite radio.
Different types of jobsite radios are available today. Based on the specific features, the user needs to follow different operation techniques or strategies. However, some tips and strategies are common for all types of models.
By following these techniques, you will be able to use and operate your worksite radio correctly.
So, Let’s Go!
How To Operate JobSite Radios- Common Tips And Strategies
TIPS 1: BATTERY INSTALLATION AND REMOVING
If there is a battery compartment, pull out its locker to release the chamber. Some models may have a main battery compartment as well as back up battery compartment.
To insert the battery pack, slowly slide it into the battery bay. Never force when inserting the battery. If it doesn’t slide in it easily, you’re not inserting it correctly. So, make sure you insert it correctly.
Pull it off the device if you need to remove the battery pack. Some models may require to press the buttons on both sides of the cartridge or slide the button on the front of the cartridge.
TIP 2: CHARGING THE BATTERY
Battery-powered radios usually feature a low-battery indicator. The indicator flashes when the battery requires charging. There is some battery-powered models that shut down when the charge goes too low. It’s a beautiful feature to protect the battery’s life.
If your radio’s battery charge gets low or low battery sign appears, charge it following the instruction on its user manual. Without the proper charging of your battery, it won’t work at all.
TIP 3: USING THE USB POWER OUTLET
Some jobsite radios feature USB power outlet, through which user can charge other devices like iPod, smartphones, etc. In general, the user can enjoy this feature when the radio is connected to a power outlet. However, on some models, this function works when the radio is ON, and the battery is inserted.
TIP 4: USING THE AUXILIARY INPUT SOCKET
Some models allow the user to use auxiliary devices like MP3, Smartphone or CD player. In general, auxiliary input sockets come with the radio.
To add the auxiliary devices to your jobsite radio all you need to do is open the auxiliary compartment. Then connect the external audio source to the input socket. Some radios feature a storage compartment where the user can keep his/her phone safe.
TIPS 5: CHANGING THE BATTERY
To change the battery, follow the steps below:
- Remove the screws (if any) and the battery cover.
- Slide out the battery and disconnect your radio from the power outlet.
- Slide in the new battery following the positive terminal to the (+) mark and the negative terminal to the (-) mark.
- Attach the battery cover and screws.
TIP 6: OPERATING YOUR RADIO – Scan tuning AM/ FM
- Press the power button to switch on the radio.
- Select FM or AM radio mode.
- To carry out auto-tune, you need to press and hold the knob (tuning control knob). Your jobsite radio will start to scan up the FM/ AM band. And automatically scanning will stop when it finds a band/ station of strong signal and strength.
- If you like to find other stations, you’ll need to press and hold the knob (tuning control) as you do before.
- When it reaches at the end of the waveband, your radio will restart tuning from the opposite end of the wave band.
- Adjust your required sound level for comfortable listening.
TIP 7: PRESETTING STATIONS in FM/AM mode
Your radio may have various preset stations for FM and AM radio. You can use it almost in the same way for each waveband.
- Switch on your radio by pressing the Power Button.
- To select your desired waveband, press the Source Button. Tune to your preferred radio station as previously described.
- Press & hold your required preset button to save the station to the preset button.
- Repeat the same steps for the other presets as you like.
TIP 8: RECALLING A PRESET STATION
- To recall your preset FM or AM station press the power button to switch on the radio.
- To select AM or FM radio mode, press the Source button.
- Press the required Preset button to play any of the stations your stores in the preset memory.
TIP 9: SETTING THE CLOCK ON YOUR JOBSITE RADIO
- Press and hold the CLOCK button till the “Hour” appears.
- Adjust the hour using the arrow button.
- Again press the CLOCK button and adjust the minutes using the same arrow button.
- Press the CLOCK button again, and it’ll save your time setting.
TIP 10: ADJUSTING THE JOBSITE radio EQ
- Push the EQ button to change the treble or bass manually.
- Push the arrow button to set the bass manually.
- Press the EQ button again and use the arrow buttons to set the treble
Conclusion
The tips we’ve discussed in our article to operate a job site radio is a general guideline. Depending on the model of your jobsite radio it may vary.
Each model of the Jobsite radio comes with different manual instructions. So learning them properly is a wise decision.
However, we hope that these general instructions will help a user to understand the usual operating system. Again, if you face any problems while doing this job, let us know about your problems in our comment section.
We will try our level best to solve this problem.
One thing!
Don’t forget to read and understand the operator’s manual. It’ll help you a lot to reduce the risk of any injury related to the device and also help you to operate it correctly.